How to Master Home Improvement in 24 Days: The Ultimate DIY Bootcamp
How to Master Home Improvement in 24 Days: The Ultimate DIY Bootcamp
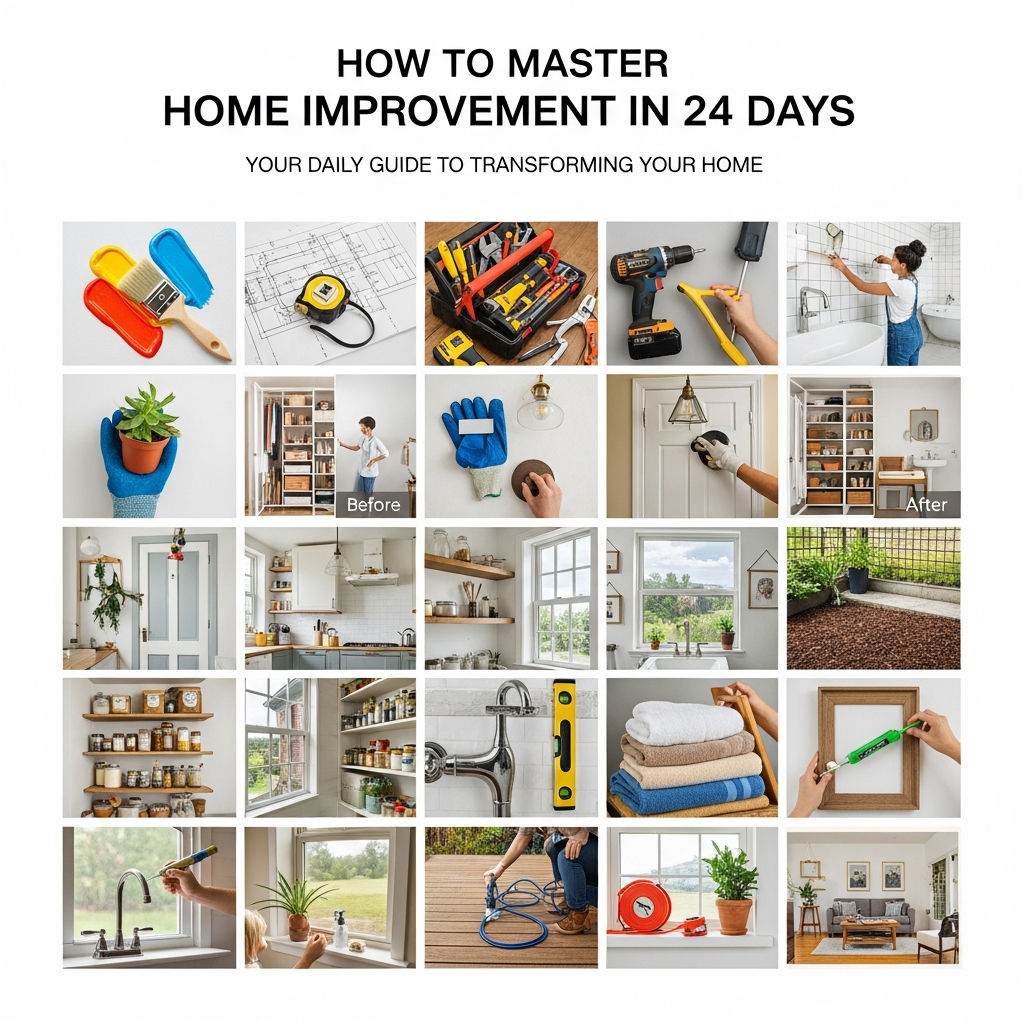
Home improvement is often viewed as a daunting, lifelong learning process. While it is true that professional contractors spend decades refining their craft, the average homeowner can gain a surprising amount of “mastery” over their living space in a focused, 24-day period. By breaking down complex renovations into digestible, daily skills, you can transform your home and increase its market value without the expense of hiring outside help.
This guide isn’t about becoming a structural engineer overnight. It is about building the confidence, technical knowledge, and tool proficiency required to handle 90% of common household issues and upgrades. Here is your day-by-day roadmap to mastering home improvement in less than a month.
Phase 1: Foundation and Essential Tools (Days 1–6)
Before you swing a hammer, you must understand the logic of construction. The first week is dedicated to the “science” of the home and the tools required to manipulate it.
Day 1: The Anatomy of a House
Spend your first day learning what is behind your walls. Research the difference between load-bearing walls and partitions. Understand how studs are spaced (usually 16 or 24 inches apart) and how to use a stud finder effectively. Knowing the “skeleton” of your home prevents disastrous mistakes later.
Day 2: Mastering the Power Drill and Impact Driver
The drill is the most used tool in DIY. Practice drilling pilot holes into different materials (wood, masonry, metal). Learn the difference between a standard drill and an impact driver, and practice driving screws until they are perfectly flush with the surface.
Day 3: The Art of Measurement and Leveling
In home improvement, “eyeballing it” is a recipe for failure. Master the tape measure, the speed square, and the spirit level. Practice the “measure twice, cut once” mantra by measuring various rooms and creating a floor plan to scale.
Day 4: Fasteners and Anchors
Not all screws are created equal. Spend today learning about drywall anchors, toggle bolts, masonry screws, and wood screws. Knowing which fastener to use for a heavy mirror versus a light picture frame is a foundational skill for any homeowner.
Day 5: Introduction to Hand Tools
Get comfortable with the basics: hammers, screwdrivers, pliers, and wrenches. Learn the specific utility of a crowbar versus a wonder bar, and understand how to use a utility knife safely for precision cutting.
Day 6: Safety Protocols and PPE
Mastery includes safety. Learn when to use an N95 mask versus a respirator, the importance of eye protection, and how to properly set up a ladder. A master never works in an unsafe environment.
Phase 2: Interior Refresh and Surface Mastery (Days 7–12)
Now that you have the tools, it is time to work on the “skin” of your home. This phase focuses on the visual elements that provide the highest return on investment (ROI).
Day 7: Drywall Repair and Patching
Holes happen. Learn to apply joint compound, sand it smooth, and feather the edges so the repair is invisible. Mastering the “skim coat” technique is what separates amateurs from pros.
Day 8: Professional Painting Techniques
Painting is 80% preparation. Spend today learning how to tape edges, use a “cut-in” brush technique, and roll paint without leaving “holidays” (missed spots) or drip marks. Research the differences between flat, eggshell, and semi-gloss finishes.
Day 9: Caulking and Sealing
A clean bead of caulk can make a kitchen or bathroom look brand new. Practice applying silicone caulk to sinks and acrylic caulk to baseboards. Learn how to use a caulking gun with steady pressure.
Day 10: Cabinet Hardware and Door Adjustments
Updating handles and knobs is a quick win. Additionally, learn how to adjust European-style cabinet hinges to ensure doors are perfectly aligned. This “micro-adjustment” skill is a hallmark of home mastery.
Day 11: Introduction to Flooring
While you won’t master all flooring in a day, you can master Luxury Vinyl Plank (LVP) or laminate basics. Learn about underlayment, expansion gaps, and how to use a pull bar to lock planks together.
Day 12: Baseboards and Trim
Learn to use a miter saw to cut 45-degree angles for corners. Practice “coping” joints, which is a more advanced technique for perfectly fitting baseboards in older homes where walls aren’t perfectly square.
Phase 3: Vital Systems: Plumbing and Electrical (Days 13–18)
Caution is key here. This phase focuses on the “veins and nerves” of the home. Always remember to turn off the main water or the circuit breaker before starting these tasks.

Day 13: Plumbing Basics: Leaks and Clogs
Learn how to disassemble a P-trap under the sink and how to use a plumber’s snake. Understanding how water flows out of your house is just as important as how it flows in.
Day 14: Faucet Installation and Repair
Replace an old faucet with a new one. Learn about supply lines, shut-off valves, and how to use plumber’s tape (Teflon tape) to ensure water-tight seals on threaded pipes.
Day 15: Toilet Anatomy and Maintenance
A running toilet wastes gallons of water. Learn how to replace a flapper, a fill valve, and a wax ring. These $20 parts can save you hundreds in professional plumbing fees.
Day 16: Electrical Safety and Outlets
Master the use of a voltage tester. Learn how to swap out a standard outlet or a light switch. Understand the difference between “hot,” “neutral,” and “ground” wires.
Day 17: Lighting Fixtures and Ceiling Fans
Practice installing a new light fixture. Learn how to support the weight of the fixture while wiring and how to use wire nuts properly to ensure a secure electrical connection.
Day 18: HVAC Maintenance
Master the basics of climate control. Learn how to change furnace filters, clean AC condenser coils (outside), and program a smart thermostat to optimize energy efficiency.
Phase 4: Exterior Mastery and Curb Appeal (Days 19–24)
The final week focuses on the exterior of the home, protecting your investment from the elements and improving its “first impression” value.
Day 19: Pressure Washing and Soft Washing
Learn the power of water. Understand which surfaces can handle high pressure (concrete) and which require a “soft wash” (siding and roofs) to avoid damage.
Day 20: Gutter Maintenance and Drainage
Clean your gutters and check the “pitch” to ensure water flows toward the downspouts. Learn about splash blocks and French drains to keep water away from your foundation.
Day 21: Deck and Fence Care
Learn the difference between wood stain and sealer. Practice sanding a small area of wood and applying a finish that protects against UV rays and moisture.
Day 22: Smart Landscaping and Curb Appeal
Focus on “hardscaping” basics—laying mulch, edging garden beds, and planting for perennial growth. Learn how to use a string trimmer and a leaf blower like a pro.
Day 23: Exterior Doors and Weatherstripping
A drafty door is an expensive door. Learn how to replace weatherstripping and adjust the “strike plate” so your door closes tightly and securely.
Day 24: The Final Inspection and Maintenance Schedule
On the final day, walk through your home with a critical eye. Create a seasonal maintenance checklist. Mastery isn’t just about fixing what is broken; it’s about preventing things from breaking in the first place.
Why 24 Days?
The 24-day timeline works because it builds “muscle memory.” Home improvement is a physical skill as much as an intellectual one. By dedicating nearly a month to these tasks, you transition from a “renter mindset” (waiting for someone else to fix it) to an “owner mindset” (knowing you have the tools and the talent to handle it yourself).
The ROI of DIY Mastery
- Financial Savings: The average contractor charges between $50 and $150 per hour. By doing it yourself, you only pay for materials.
- Property Value: Homes that are well-maintained and feature modern updates (paint, fixtures, flooring) sell faster and for higher prices.
- Mental Satisfaction: There is a unique psychological boost that comes from looking at a beautifully finished room and knowing you built it with your own hands.
Conclusion
Mastering home improvement in 24 days is an intensive challenge, but it is entirely achievable. By focusing on one specific skill per day, you avoid burnout and build a comprehensive library of knowledge. Whether you are looking to flip a house or simply want to keep your forever home in top shape, this 24-day bootcamp is the first step toward a lifetime of DIY success.